Author:BLD Solar Energy SystemFROM:Solar System Converter Manufacturer TIME:2023-10-20
Installation Guidelines for Luminous On Grid Solar Inverter

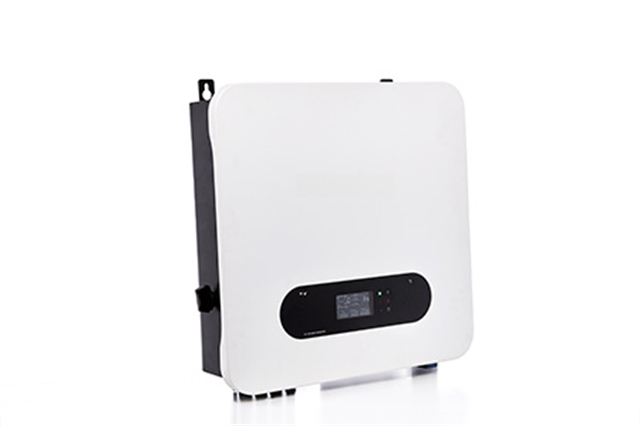
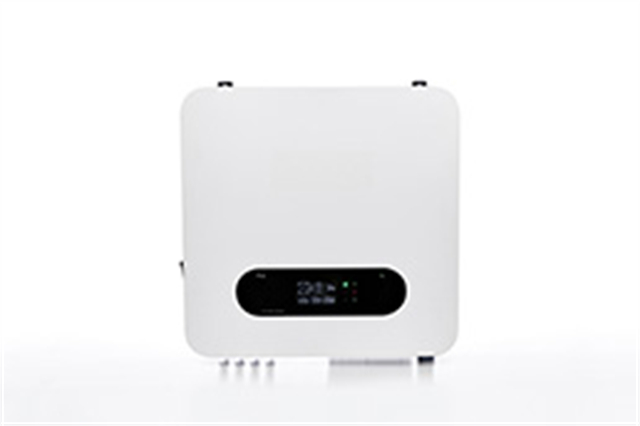
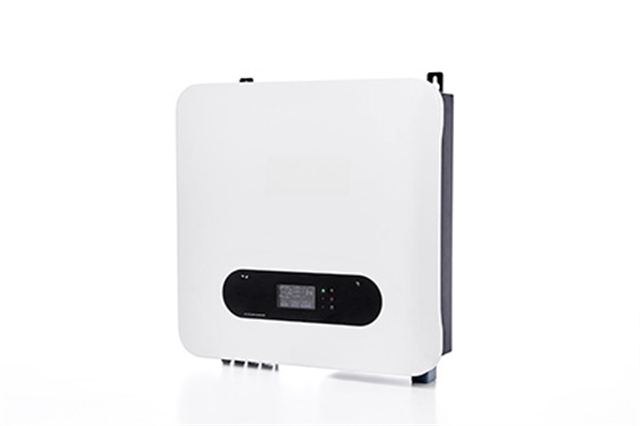
The Luminous On Grid Solar Inverter is a reliable and efficient solution for harnessing solar energy and converting it into usable electricity. This guide provides step-by-step instructions on how to install the inverter effectively. It is important to follow these guidelines to ensure a safe and seamless installation process.

Before starting the installation, conduct a thorough site assessment to determine the optimal location for placing the solar inverter. Ensure that the area receives ample sunlight throughout the day and has adequate ventilation. Also, consider the proximity to the main electrical panel for a convenient connection.

Select a sturdy and secure location to mount the inverter. It should be positioned vertically, away from direct sunlight and moisture. Use the provided mounting brackets and screws to fix the inverter firmly on the wall or any other suitable surface. Double-check the stability before proceeding.
Connect the DC input terminals of the solar inverter to the solar panels. Ensure that the polarity is correctly matched, and all connections are tight and secure. Employ appropriate wiring techniques to minimize the risk of short circuits. Use suitable protection devices like fuses or circuit breakers as per local regulations.
Connect the AC output terminals of the solar inverter to the main electrical panel. Follow the specified guidelines and local electrical codes for a safe and proper connection. Double-check the wiring to avoid any loose connections or mismatched phases. Consider employing a qualified electrician if needed.
Proper grounding is essential for the safety and reliability of the solar inverter system. Connect the grounding wire provided with the inverter to the designated grounding terminal. Ensure that the grounding conductor is securely connected to a grounding electrode, such as a ground rod or grounding plate, as per local regulations.
If your solar inverter supports communication capabilities, follow the manufacturer's instructions to set up the communication interface. Configure the necessary settings and connect the communication cables, if applicable. This step enables monitoring and data logging functionalities, allowing you to track the performance of your solar system.
Before commissioning the solar inverter, conduct a comprehensive system test. Verify all the connections, including DC and AC wiring, grounding, and communication setup. Check the inverter's display and monitoring software for any error codes or abnormal readings. Test the solar panels' output to ensure it matches the expected values.
Once the installation and testing are successful, proceed with commissioning the solar inverter. Follow the manufacturer's instructions to initialize the inverter and configure the necessary settings. Regularly inspect and clean the solar panels to maintain optimal performance. Additionally, monitor the inverter's performance and address any issues promptly.
The proper installation of the Luminous On Grid Solar Inverter is crucial for maximizing its efficiency and lifespan. By following these guidelines and consulting the manufacturer's documentation, you can ensure a safe and successful installation process. Enjoy the benefits of harnessing solar energy and contributing to a greener future.
