Author:BLD Solar Energy SystemFROM:Solar System Converter Manufacturer TIME:2023-10-16
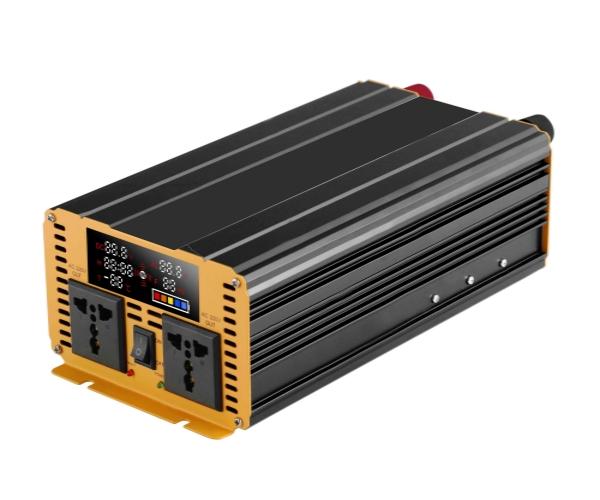
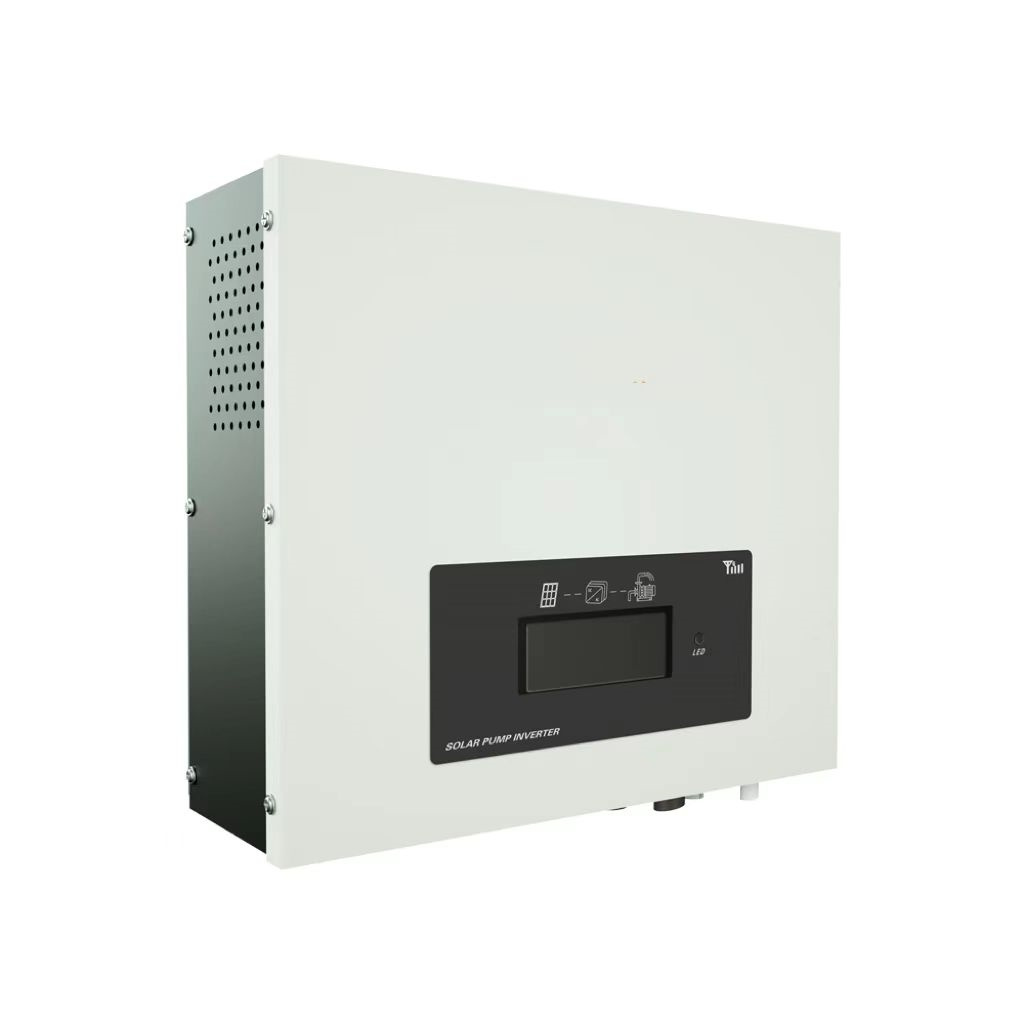
The Havells On Grid Inverter is a high-quality and efficient device used in solar power systems. It converts the DC power generated by the solar panels into AC power that can be used to power your home or business. This installation guide will provide step-by-step instructions on how to install the Havells On Grid Inverter.

Before starting the installation process, it is essential to ensure your safety. Make sure to wear safety gloves and goggles to protect yourself from any potential hazards. Additionally, turn off the main power supply to avoid any electrical accidents during the installation.

Choose an appropriate location for installing the Havells On Grid Inverter. It should be a well-ventilated area with sufficient airflow to prevent overheating. Also, place the inverter away from direct sunlight and moisture to ensure its longevity.

Mount the Havells On Grid Inverter securely on a wall using suitable brackets and screws. Ensure that the wall is sturdy enough to support the weight of the inverter. Make sure to leave enough space around the inverter for maintenance and airflow.
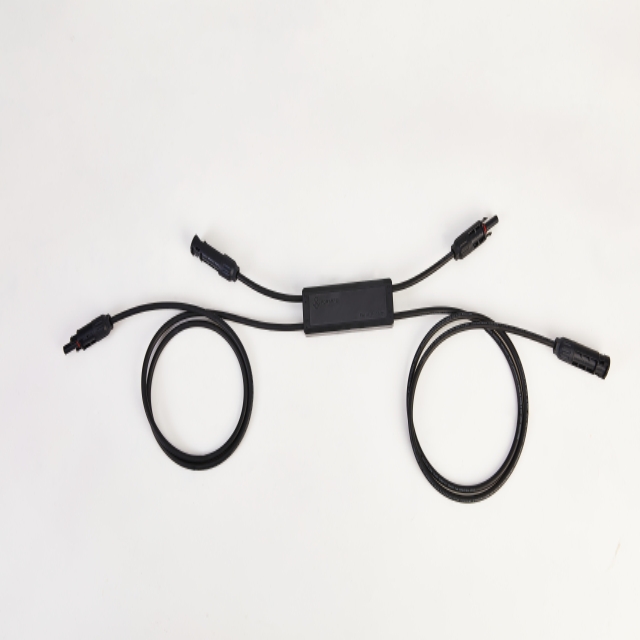
Connect the DC output terminals of the solar panels to the DC input terminals of the inverter. Follow the manufacturer's instructions for proper wiring and ensure that all connections are secure. Use appropriate cables and connectors for a reliable and safe connection.
Connect the AC output terminals of the inverter to the main electrical panel using a dedicated circuit breaker. Ensure that all connections are tight and secure. It is recommended to hire a licensed electrician for this step to ensure compliance with local electrical codes.
Once all the connections are made, it is time to configure the Havells On Grid Inverter. Use the provided user manual to set up the inverter according to your specific requirements. This may include adjusting voltage settings, enabling grid synchronization, and configuring monitoring options.
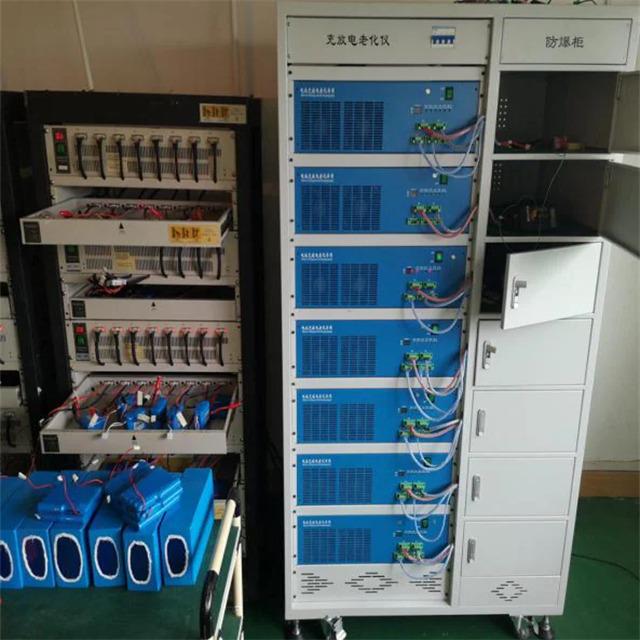
After configuring the inverter, perform a thorough testing process to ensure its proper functioning. Test the inverter's response to different load conditions, grid failures, and grid synchronization. Monitor the performance and check if any errors or warnings are displayed on the inverter's interface.
Maintain the Havells On Grid Inverter regularly to ensure optimal performance. Clean the inverter's exterior and check for any loose connections or signs of damage. Refer to the user manual for troubleshooting steps in case any issues arise. If necessary, contact the manufacturer or a certified technician for assistance.
In conclusion, installing the Havells On Grid Inverter requires careful planning and attention to detail. By following this installation guide, you can successfully set up the inverter in your solar power system. Remember to prioritize safety, follow the manufacturer's instructions, and seek professional help if needed. Enjoy the benefits of clean and sustainable energy with the Havells On Grid Inverter!

 Tel: +86-13538031763
 Email:
 MP/WhatsApp: +86-13538031763
 Manufacturer Address: