Author:BLD Solar Energy SystemFROM:Solar System Converter Manufacturer TIME:2023-10-16
Installation Guide for Delta On-Grid Inverter

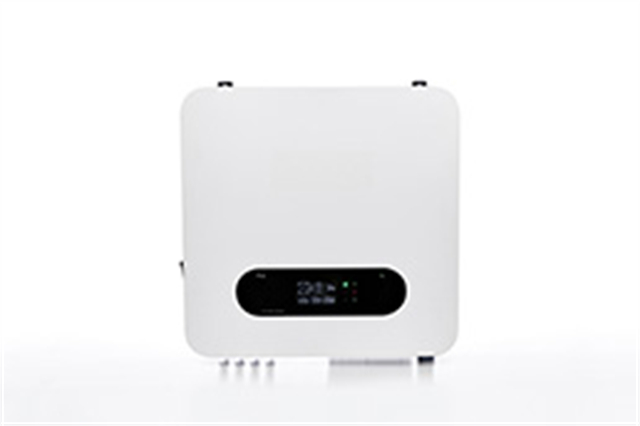
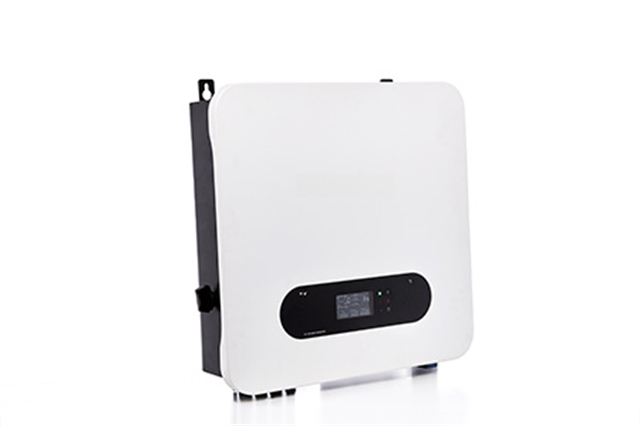
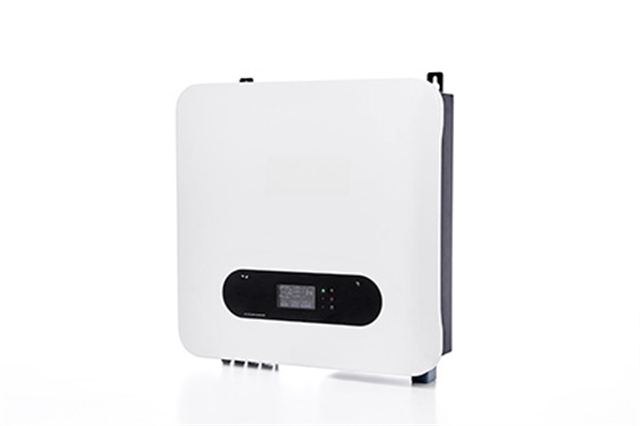
The Delta On-Grid Inverter is a state-of-the-art device designed to convert the direct current (DC) output from solar panels into alternating current (AC) electricity that can be used in homes and businesses. This installation guide aims to provide you with step-by-step instructions on how to install and set up the Delta On-Grid Inverter for optimal performance and safety.

Prior to beginning the installation process, it is crucial to ensure your safety. Make sure to turn off all power sources, wear appropriate personal protective equipment, and follow all recommended safety guidelines provided in the user manual. Pay attention to electrical shock hazards and potential rooftop risks during the installation.

Choose an appropriate location to mount the Delta On-Grid Inverter, preferably close to the electrical service panel and in an area with good ventilation. Ensure that the mounting surface is sturdy and can support the weight of the inverter. Follow the provided instructions on how to securely attach the inverter to the wall or another suitable structure.
Connect the positive and negative DC input terminals of the inverter to the corresponding terminals on the solar panels. Use appropriate wiring and connectors as specified by the manufacturer to ensure a secure and reliable connection. Take care to avoid any short circuits or reverse polarity connections.
Connect the AC output terminals of the inverter to the electrical service panel or distribution board using the provided wiring. Ensure that the connections are properly tightened and secured. Follow any local electrical codes and regulations during this process to guarantee compliance and safety.
Proper grounding is essential for safety and optimal performance. Connect the inverter's grounding terminal to an appropriate grounding electrode system, such as a grounding rod or building grounding conductor. Consult a qualified electrician or refer to local regulations to ensure compliance with grounding requirements.
Once the physical installation is complete, connect the communication cables from the inverter to your monitoring system or data logger, if applicable. Follow the manufacturer's instructions to configure the inverter settings, such as grid voltage and frequency, according to your specific requirements and local regulations.
Before activating the inverter, perform a comprehensive system test to verify proper installation and functionality. Monitor the system's performance periodically and conduct regular maintenance as recommended by the manufacturer. This may include cleaning the inverter's ventilation openings, inspecting wiring connections, and checking for any signs of damage or deterioration.
This installation guide has provided you with a comprehensive overview of the steps involved in installing the Delta On-Grid Inverter. By following these guidelines and adhering to safety precautions, you can ensure a successful installation that maximizes the efficiency and reliability of your solar power system. The Delta On-Grid Inverter offers a reliable and efficient solution for harnessing solar energy while contributing to a sustainable future.
