Author:BLD Solar Energy SystemFROM:Solar System Converter Manufacturer TIME:2023-10-11
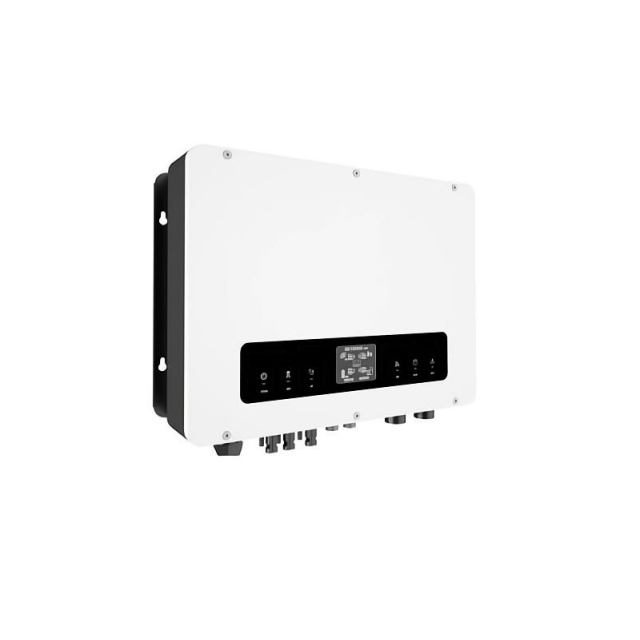
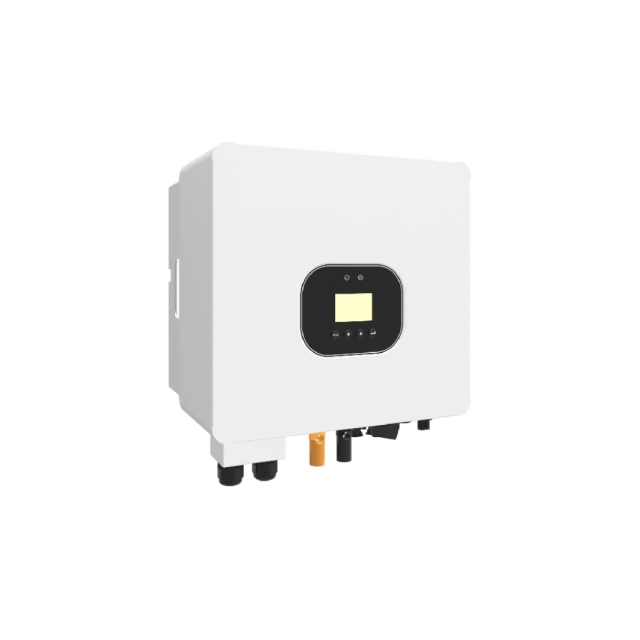
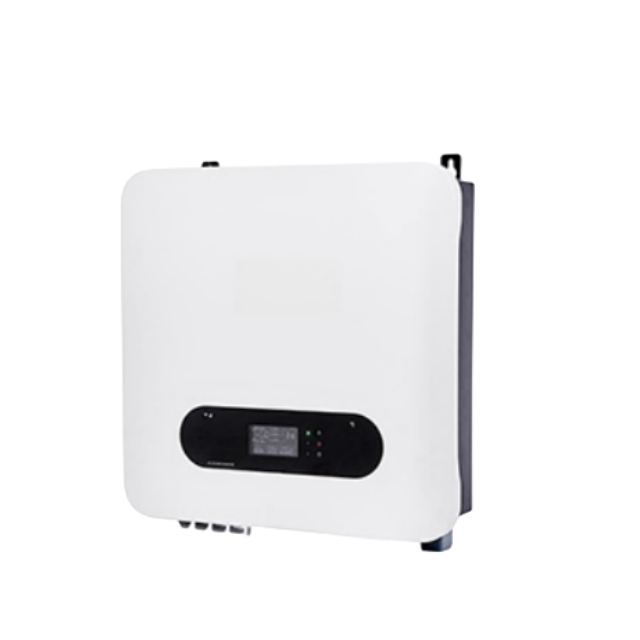
The Luminous On Grid Inverter is a reliable and efficient device that allows you to convert solar energy into usable electricity. Installing this inverter is a crucial step in setting up a solar power system for your home or business. In this article, we will guide you through the process of installing the Luminous On Grid Inverter, ensuring a smooth and successful installation.

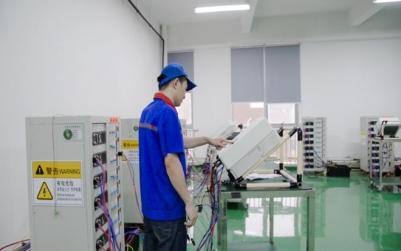
Before beginning the installation process, it is essential to gather all the necessary tools and equipment. You will need a ladder, screwdriver, pliers, wire cutters, insulation tape, and a multimeter. Ensure that you have all these tools readily available before starting the installation.

The next step is to select an appropriate location for mounting the inverter. It should be installed indoors, away from direct sunlight, water, and excessive heat. Ensure that the mounting surface is sturdy and can support the weight of the inverter.

Using the appropriate screws and anchors, mount the inverter securely to the chosen location. Make sure it is positioned vertically, with enough space around it for proper ventilation. This will prevent overheating and ensure optimal performance.
Now, it is time to connect the DC input cables from your solar panels to the inverter. Strip the ends of the wires and connect them securely using the provided connectors. Double-check the connections to ensure they are tight and properly insulated.
Next, connect the AC output cables from the inverter to your home or business electrical panel. Consult a licensed electrician if you are unsure about this step. It is crucial to follow all safety protocols and regulations during this process.
After making all the necessary connections, carefully inspect the wiring for any loose connections or exposed wires. Use insulation tape to secure and insulate any exposed parts. This will help prevent any accidents or damage caused by electrical issues.
Once the installation is complete, it is advisable to test the inverter before connecting it to the grid. Use a multimeter to check the voltage and ensure that all the connections are functioning correctly. If everything is in order, you can proceed to the next step.
Finally, it is time to connect the inverter to the grid. Follow the manufacturer's instructions to safely connect the inverter and activate the solar power system. Once connected, monitor the inverter's performance and make any necessary adjustments if required.
In conclusion, installing the Luminous On Grid Inverter is a straightforward process if you follow the steps outlined above. Remember to gather all the necessary tools, choose a suitable mounting location, make secure connections, and test the inverter before connecting it to the grid. By installing the Luminous On Grid Inverter correctly, you can harness the power of solar energy efficiently and contribute to a greener and more sustainable future.

 Tel: +86-13959965075
 Email:
 MP/WhatsApp: +86-13959965075
 Manufacturer Address: